A step-by-step guide:

How to add pages

When you first load our editor, each template will include four pages by default.
You can increase or decrease the number of pages as required.

In this guide, we’ll explain how to add pages in the editor.
If you’d like to learn how to remove pages, please see our Remove Pages help resource.

Please note: Except for service sheets (which have one or two pages), order of service booklets must increase in increments of four pages.
This is due to the way folded booklets are printed and assembled.
Featuring : Robin and Flowers order of service product

Step 1

Adding pages to the order of service booklets couldn’t be easier.
Start by selecting the template you want to use and select 'Personalise Online' to open the editor.
Template used in this example: Robins and Flowers
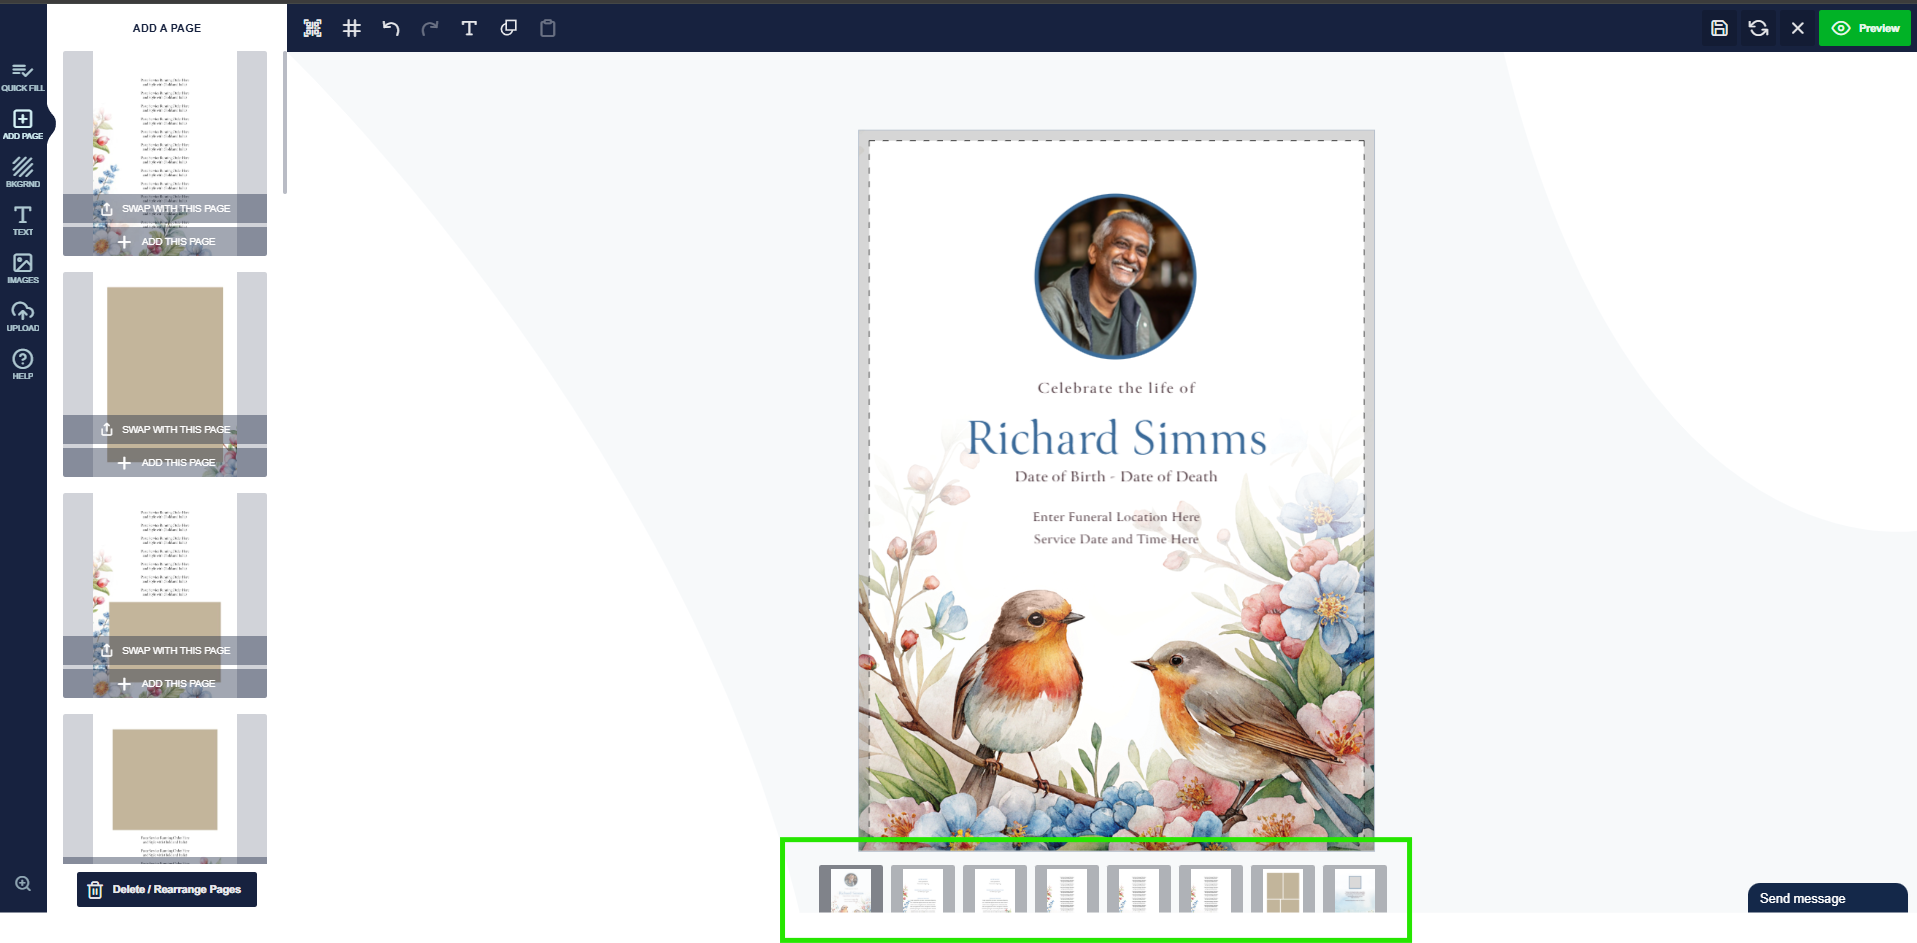
Editor screenshot: showing pages successfully added

Step 2

To add pages, click the ‘Add Page’ icon located on the far-left menu. A list of additional page layouts will appear, all designed to match the template you’re currently using.

Simply select ‘Add Page’ to insert a new one. You can also choose ‘Swap this page’ if you’d like to replace the current page layout with one from the list — this is especially useful if you want to create a photo montage page within your booklet.

Please note: When swapping pages, make sure the page you want to replace is the one currently open in the editor.
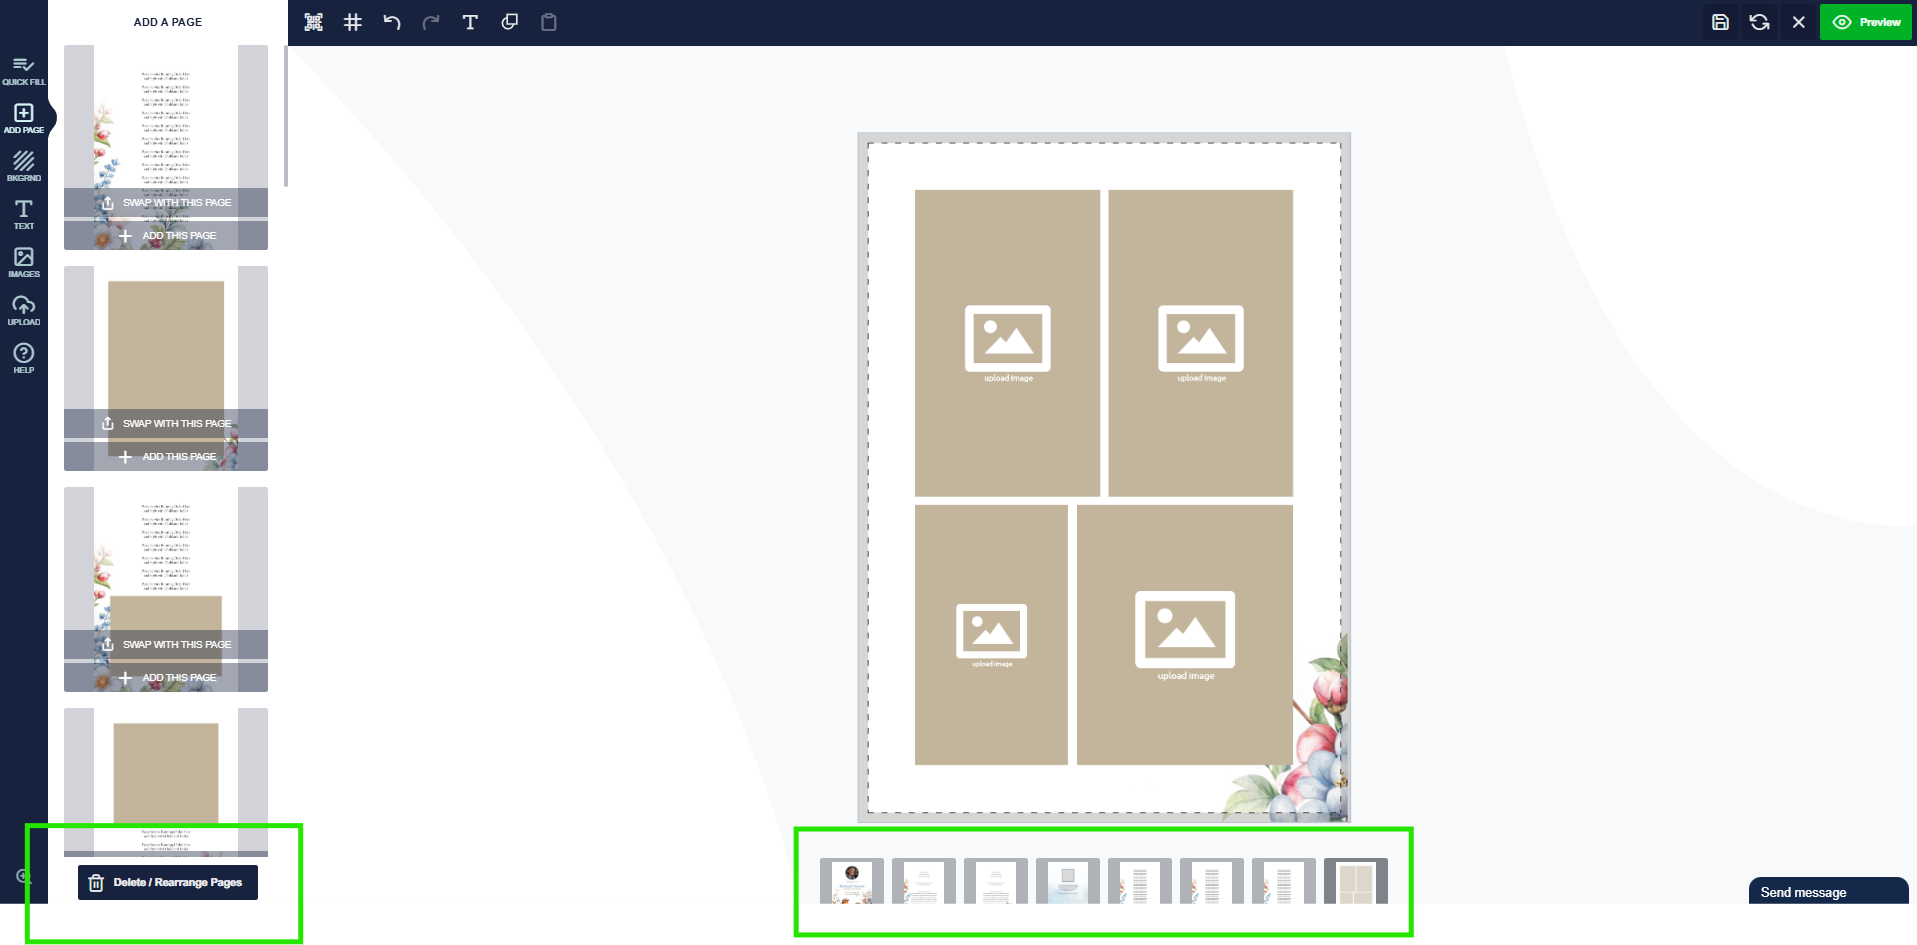
Editor screenshot: showing pages wrongly arranged

Step 3

Once you’ve added your additional pages, they’ll appear at the end of the booklet. You may wish to rearrange them to ensure the back cover layout is positioned as the final page.

To do this, select the ‘Delete/Rearrange Pages’ button on the left-hand side of the editor.
Editor screenshot: showing how to rearrange pages within projects

Step 4

A pop-up will appear, allowing you to rearrange your pages. Simply drag and drop the pages into your desired order.

To delete a page, click the black cross on its page icon.
<
Please note: Deleted pages cannot be restored, so make sure you’re deleting the correct page.
Editor screenshot: showing pages successfully added

Step 5

The additional pages should now be added and arranged in the correct order. You can view the page order using the page icons at the bottom of the editor screen.

You can also preview your design at any time by selecting Preview and flipping through the pages.

Still need help? View more help guides.

Frequently Asked Questions - Adding Pages

How do I add a page using your online design tool or template?

To add pages to your funeral order of service booklet, follow these simple steps:

  • Select a design template and start your project.
  • Click the ‘Add Page’ icon from the menu on the far left.
  • Choose the page layout you wish to insert and click ‘Add This Page’.
  • To reorder, click ‘Delete/Rearrange Pages’ and arrange them in your preferred order for printing.

Our funeral order of service booklets are printed as A5 booklets as standard.
We can also create custom sizes upon request — simply contact our team for bespoke options.

Each booklet starts with 4 pages because this is the minimum standard for folded printing (front cover, two inside pages, and back cover).
You can remove pages to create a simple service sheet or increase the page count in multiples of four (e.g. 4, 8, 12, 16 pages).

Booklets are printed in increments of 4 pages.
You can create 1–2 page service sheets, or 4, 8, 12, 16, and 20-page booklets — always increasing in sets of four. There’s no strict upper limit.

Yes. Printing prices adjust based on the number of pages and order quantity.
You can easily check updated pricing by visiting any funeral order of service product page and entering your order details.

We ensure every booklet folds beautifully, regardless of size.
For 4-page booklets, we use 400gsm premium card stock. When your booklet exceeds 4 pages, we print covers on 350gsm card and inner pages on 160gsm stock, ensuring a smooth, high-quality fold.

Booklets must be printed in multiples of four, so a 6-page design would result in two blank pages.
We recommend using the extra space for a photo tribute, thank-you message, or memorial poem.

No — there’s no limit to the number of pages you can include, as long as your total page count increases in multiples of four.

Yes. You can easily add photos, poems, or other personal tributes to any new page using our online editor.
Choose from pre-set layouts and personalise with text or images to create a truly personal tribute.

Our editor is pre-loaded with matching page layouts that automatically use the same background, fonts, and style as your chosen template — keeping your design consistent throughout.

Yes. You can delete or rearrange pages at any time.
Click on the ‘Add Page’ icon, then select ‘Delete/Rearrange Pages’.
A pop-up will show all page thumbnails — click the black cross (×) on a page to remove it.
Please note: Deleted pages cannot be recovered, so check carefully before confirming.

Adding pages does not affect turnaround times.
We offer next-working-day delivery on all orders placed before midday — this fast service is included in our pricing.

Absolutely. If you’re not sure how to add or arrange pages, our design team can guide you step-by-step to ensure your booklet looks perfect before printing.

Our friendly team is always happy to assist with designing or formatting your funeral order of service booklets.

Get in touch if you need any help with layouts, photos, or content.

Funeral Order of Service Logo.